Terrain Spotlight: Junkyard!
Posted on Monday Oct 19, 2020 at 05:00pm in Tutorials
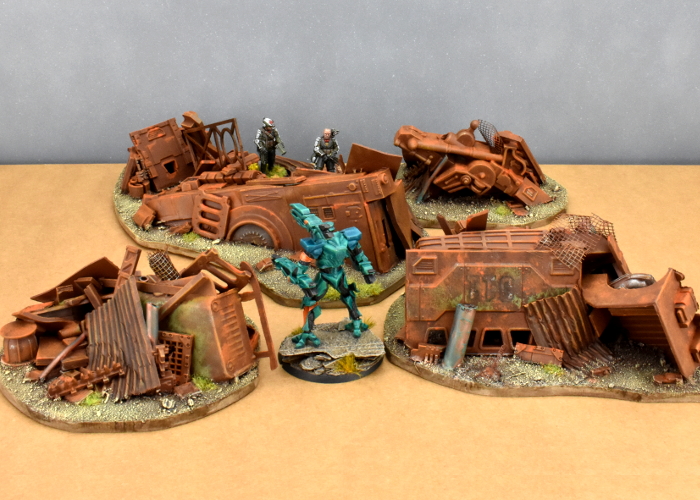
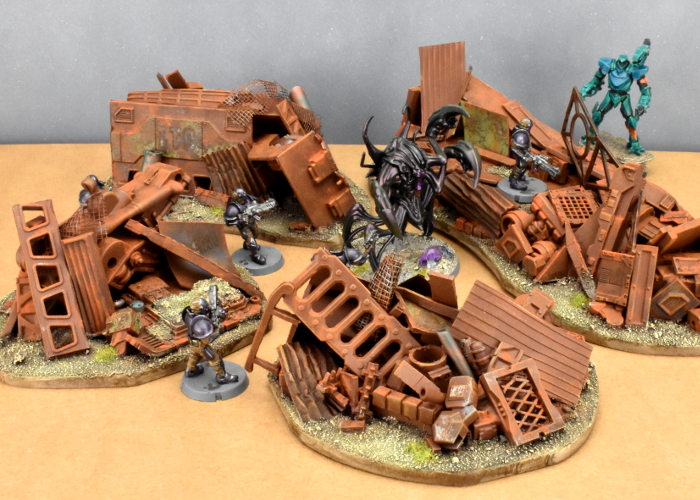
When you do a lot of conversion work on models or terrain, you tend to accumulate an ever-growing collection of discarded remnants - model or terrain components that have been cut up to use specific parts or them, leftover parts from different kits, random off-cuts of plasticard or cardboard, and other odd bits and pieces collected because they were interesting. Unless you have bottomless storage, it's handy to clean these out from time to time. Since I hate throwing anything away, however, I wanted a way to make use of these parts that I otherwise might not have an immediate project for. And so, I decided to make some junkyard terrain!
I wanted junk piles that would, at least in part, completely obscure human-sized models, so needed a bit of bulk to get started. For this purpose, I used some military vehicles from my daughters' toy soldier collection that had broken parts that couldn't be easily fixed. Cutting these more or less in half diagonally provided some interesting shapes to build on, and also doubled the number of terrain pieces I could potentially make from them!
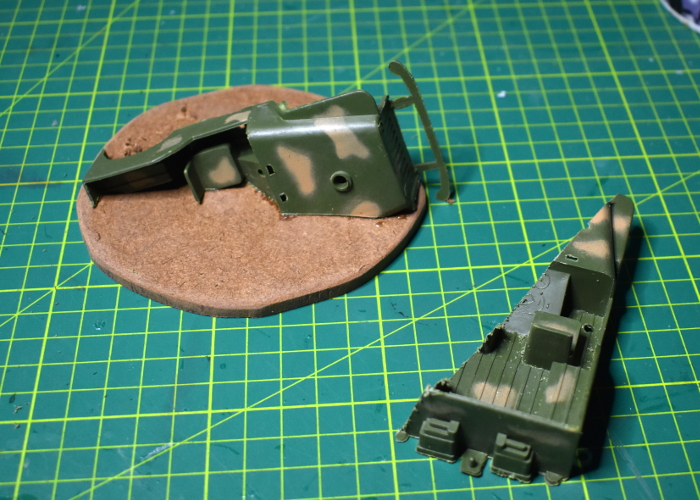
The vehicle parts were glued down onto some irregular pieces of hardboard, using Power Grip (a 'glue anything to anything else' sort of glue). I used some small hardboard off-cuts to add a little more bulk as well.
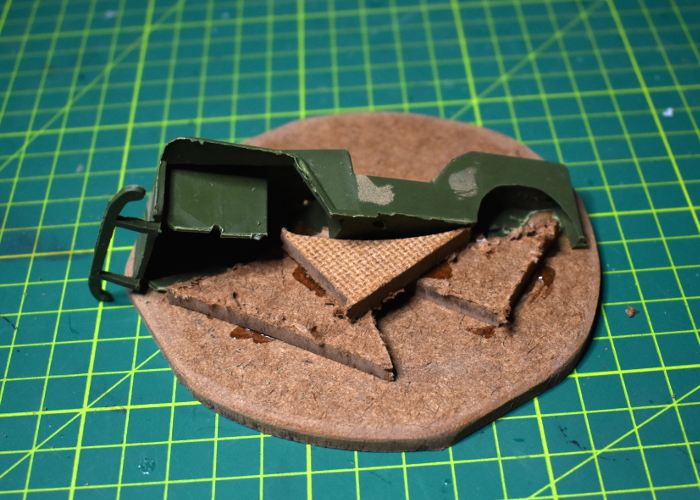
From there, it was simply a matter of grabbing interesting bits of this and that and gluing them on wherever seemed appropriate. As mentioned above, this included model and terrain parts, in some case chopped up a bit, bent, or otherwise cut or dented up in places to make them look more junk-worthy, and also whatever other scraps of building materials I had to hand, including plasticard, foamed PVC, plastic tubing, corrugated cardboard, flyscreen, and a few other odds and ends.
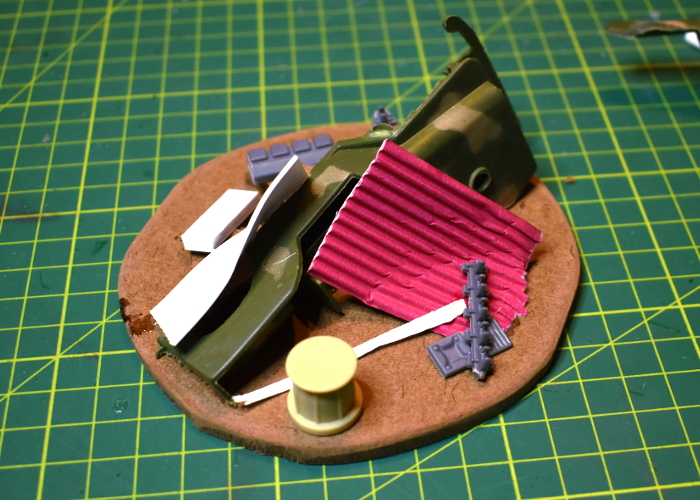
I kept piling up bits until I was happy with the amount of detail and cover on the base.
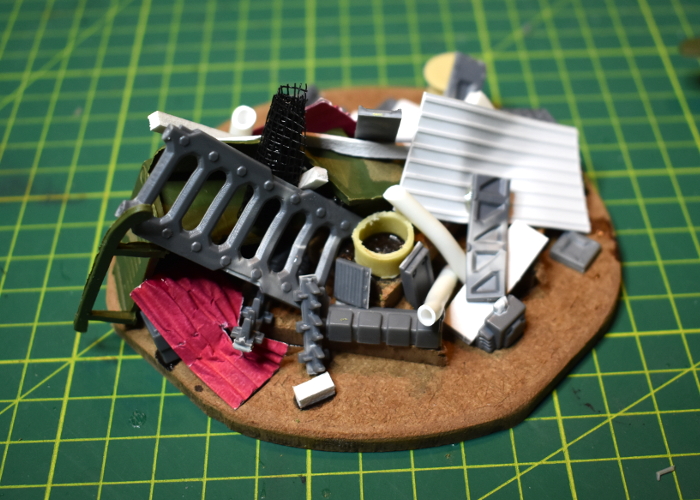
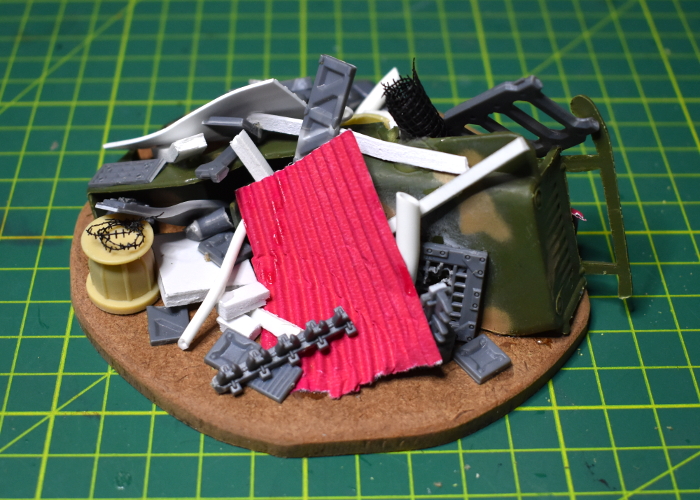
To finish up, I glued on some light gravel and sand mix anywhere on the hardboard where there was empty space.
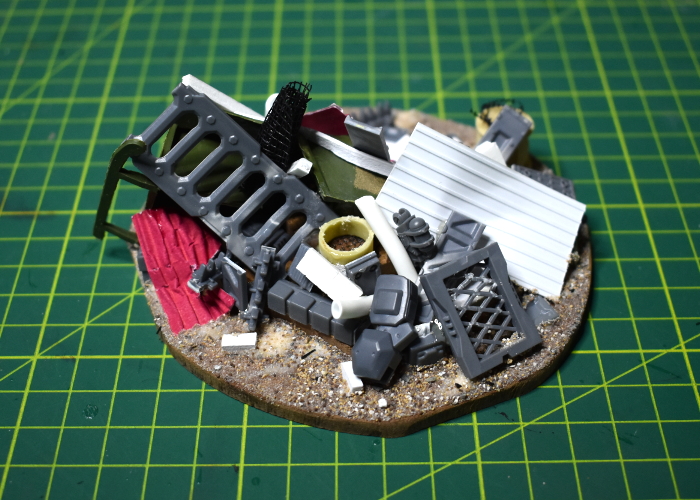
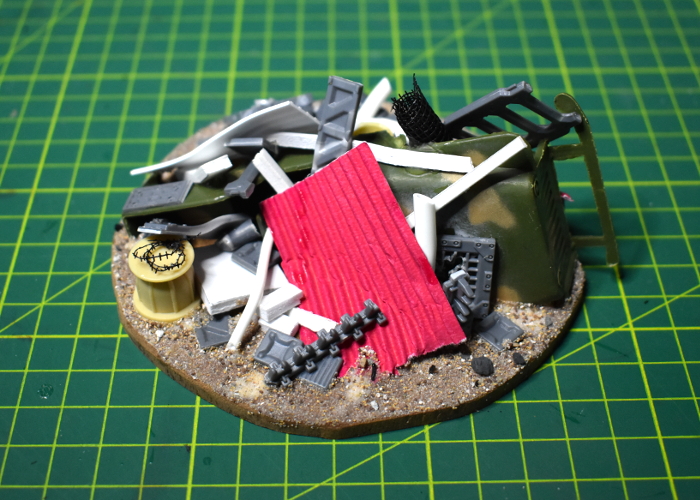
That just left painting. There were a few different potential ways to go here: painting everything up as heavily rusted and old, making it a newer junkyard with lots of shinier metal and painted parts, or something in between. To help disguise the mix of different building materials used, I decided on the first option.
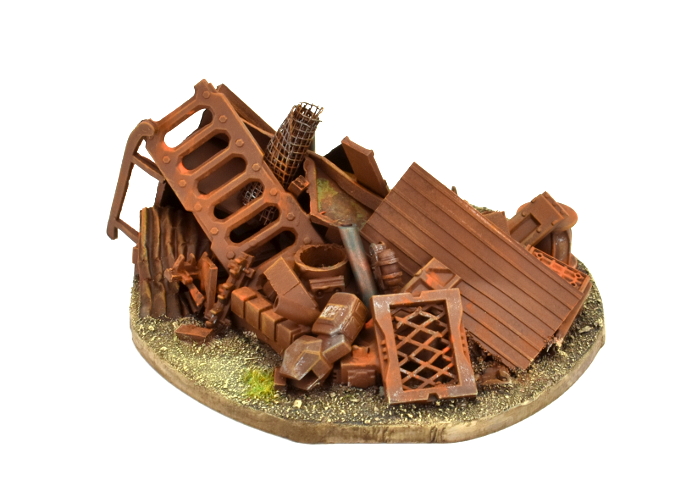
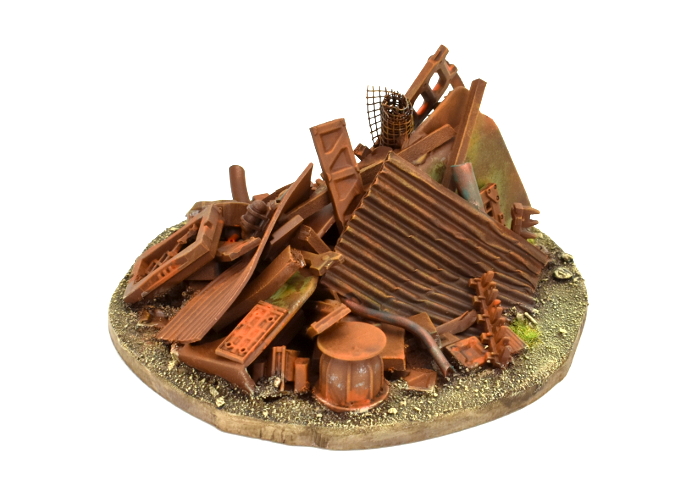
For the most part, I used the same rusted metal technique as for my shanty buildings and elsewhere. Some panels have some weathered paintwork still showing, and I couldn't resist adding in some aged copper pipes for a little extra colour, using the same method as in my copper tutorial. The gravel around the junk was painted in the same style as I used for my crystal outcrops, to provide some contrast to the rusty metal.
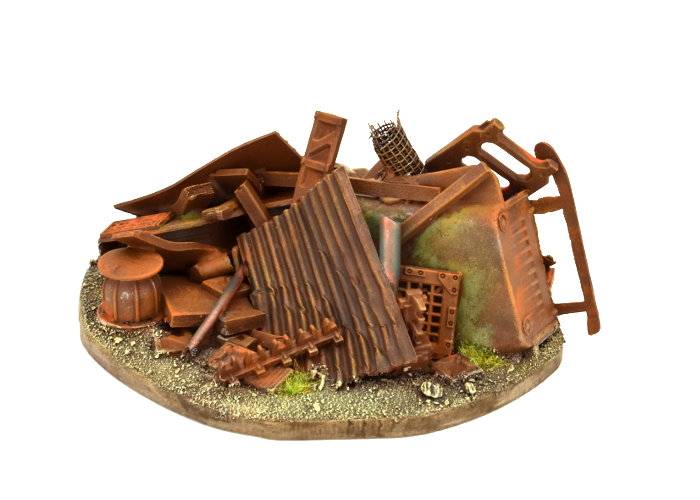
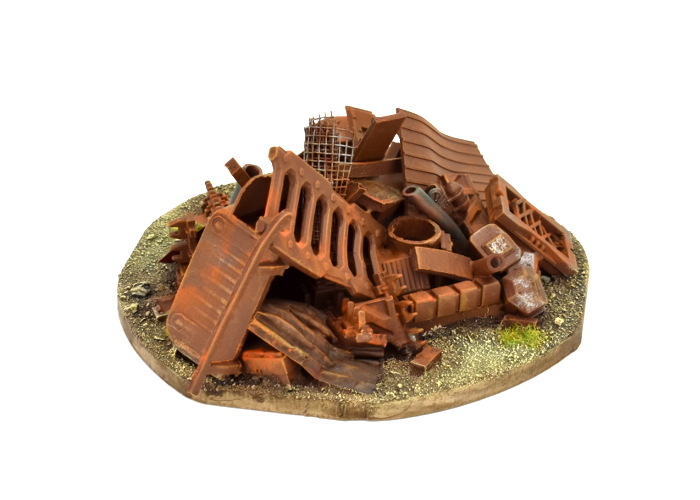
To get in some terrain action of your own, you can pick up the Maelstrom's Edge terrain sprues along with the rest of the model range from the webstore here.
For other building ideas, modeling tutorials, army spotlights and conversion walkthroughs, check out the Hobby section of the Maelstrom's Edge website here.
What are you working on? We would love to see your models and terrain in the Comm Guild Facebook group!
Tags: conversion modeling painting spotlight terrain terrainsprue tutorial walkthrough
Like this? Like us on facebook to see more...
