Terrain Spotlight: Plastic Packaging Firepoint
Posted on Wednesday Apr 20, 2022 at 05:00pm in Tutorials
 - by Iain Wilson
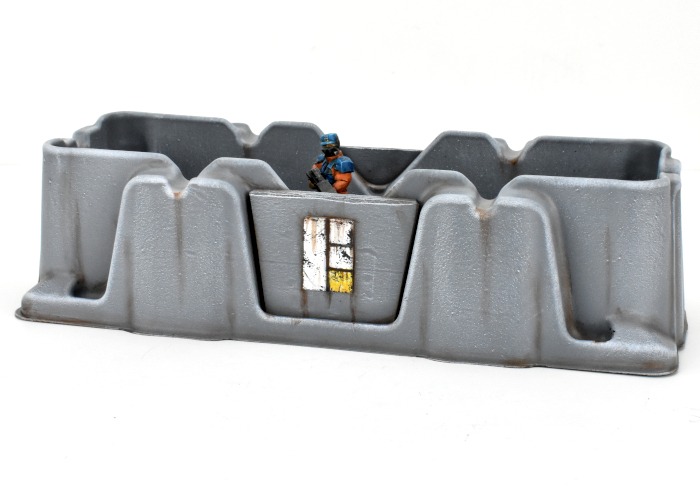
As you may have seen if you've been following the blog for a while, I make a lot of my terrain out of various bits and pieces that I come across here and there. This week I upgraded my external hard drive, and the new one came with some nifty plastic packaging pieces that I thought would be just perfect to turn into some small firepoint terrain pieces. And so I set to with some foamed PVC, superglue, and a couple of Maelstrom's Edge terrain sprues!
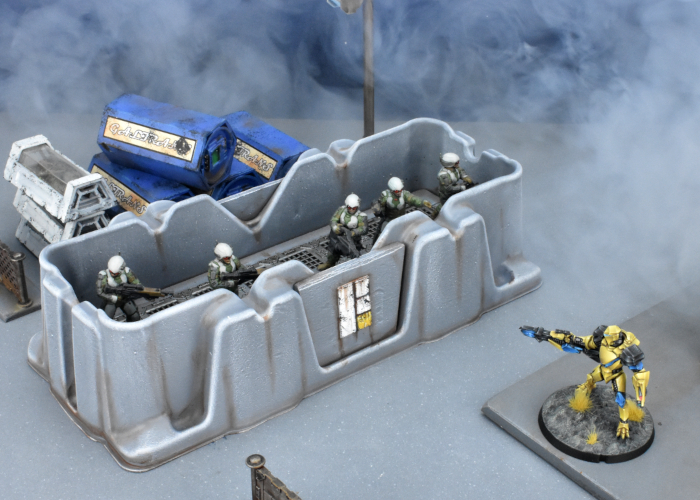
The 'floor' on the inside of the packaging piece was a fraction too low to allow models to see comfortably over the sides, and wasn't flat. Aside from that, I figured the contouring on the sides would give it some nice visual distinctiveness without the need for a lot of embellishment.
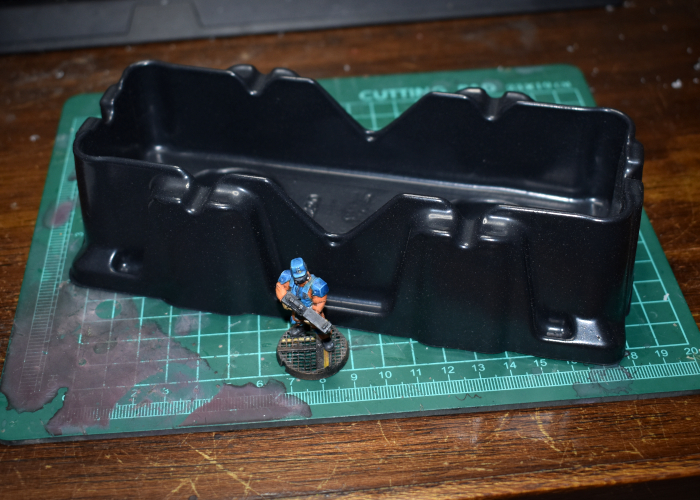
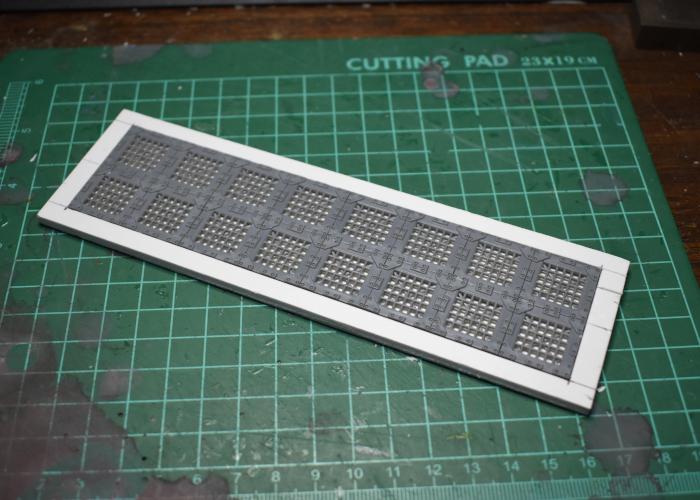
I started out by measuring up the inside dimensions, and putting together as many floor grating pieces from the 2nd Maelstrom's Edge terrain sprue as would fit in there.
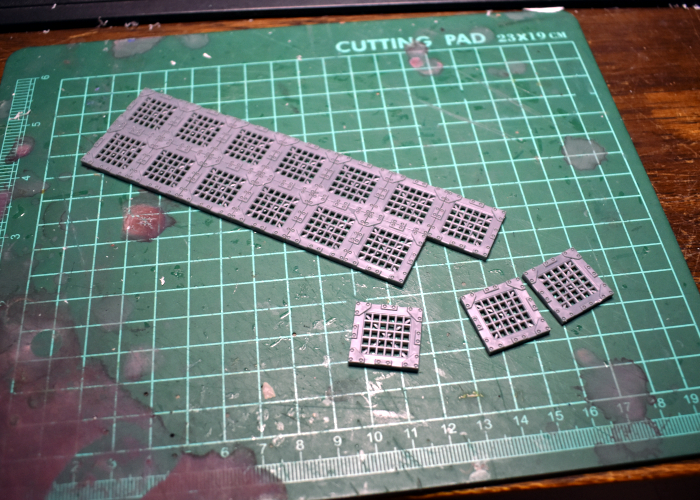
The grating left a small space around the edges, so to finish off the floor I cut a surround from 3mm foamed PVC to fit snug against the walls of the packaging, with a rectangle of 1mm PVC to sit underneath the grating to bring it up to the same height as the surround. Then I added a larger piece of 1mm PVC under the whole thing for rigidity and just that tiny bit of extra height.
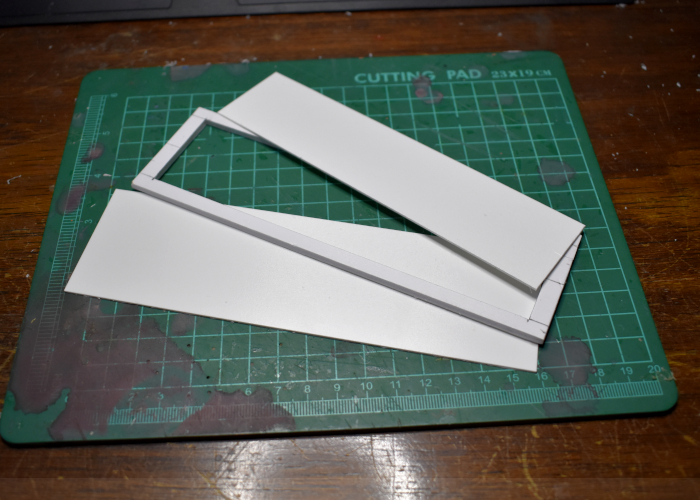
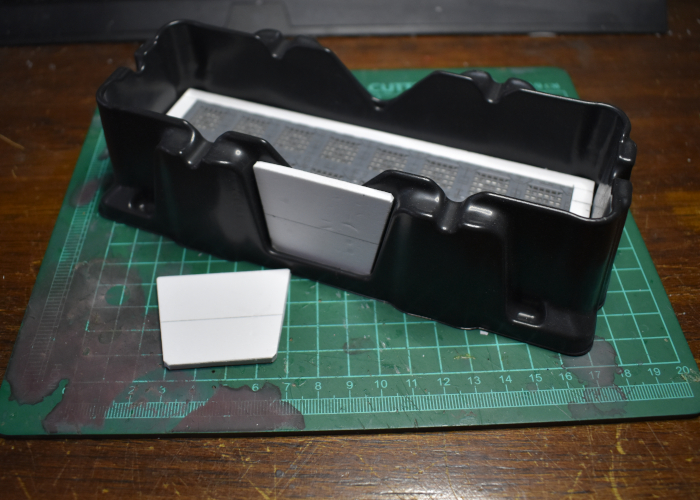
I used an all-plastic primer and superglue to fix the floor in place in the packaging piece. This left the walls a nice height for models to be mostly obscured while still being able to shoot over the walls, except for the middle section of the long walls, where it dipped down lower. I fixed this by cutting some trapezoid pieces of foamed PVC to glue over the gap.
I kept the painting relatively simple, starting with an Army Painter Uniform Grey basecoat and then a drybrush of AP Gorgon Hide, with some AP Dirt Spatter in the creases for some easy weathering. The metal grating was painted with AK Interactive Gun Metal and then washed with AP Strong Tone. Finally, I added an Epirian symbol cut from 1mm foamed PVC to the front, painted with Gorgon Hide and White, and Citadel Iyanden Darksun and AP Daemonic Yellow for the yellow bit. I used a light sponge of Vallejo Heavy Charcoal for chipping, and then finished up with some more dirt spatter weathering.
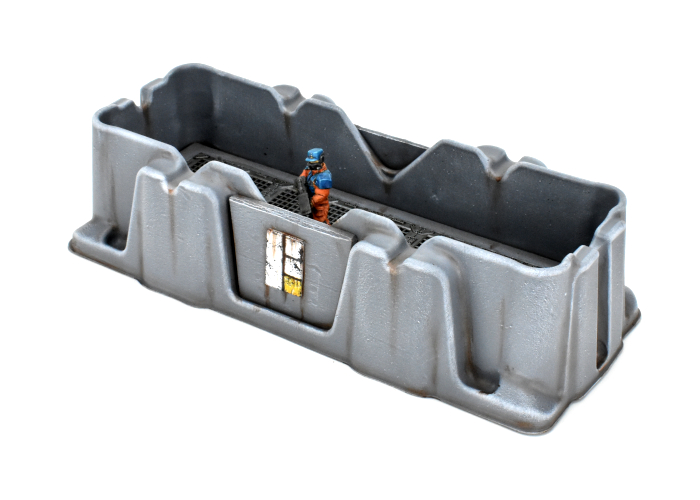
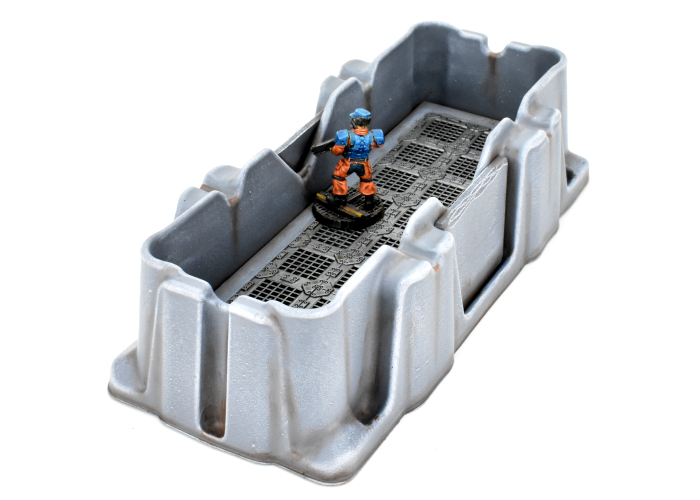
To build your own bunker of recycled doom, you can pick up the terrain sprues along with the rest of the Maelstrom's Edge range from the webstore here.
What are you working on? We would love to see your models and terrain in the Comm Guild Facebook group!
For other building ideas, modeling tutorials, army spotlights and conversion walkthroughs, check out the Hobby section of the Maelstrom's Edge website here. And while you're there, grab a copy of the Maelstrom's Edge V2 Beta rules!
Like this? Like us on facebook to see more...
