Entries tagged [rust]
Painting Tutorial: Quick & Easy Rust!
Posted on Wednesday Nov 23, 2022 at 05:00pm in Tutorials
I've always thought that urban battlefields are at their best when they look a bit run-down and decrepit. Adding obvious signs of weathering with liberal applications of dirt and corrosion are an important part of nailing this look. With that in mind I thought I would share a quick and easy method that I use for painting rusty metal!
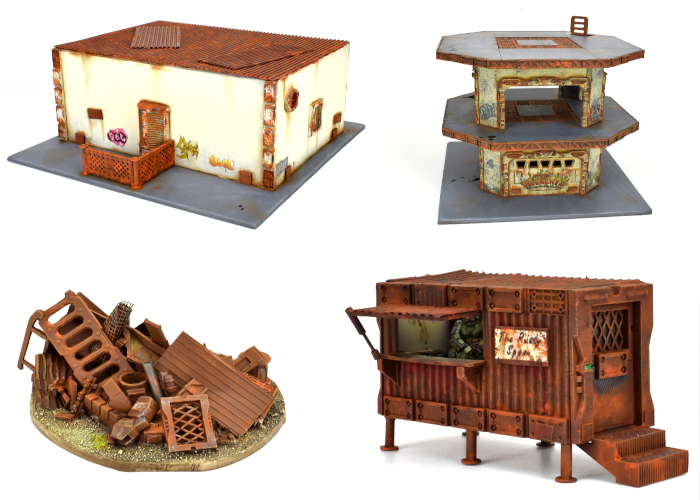
I'm using a fan assembly from the Maelstrom's Edge terrain sprues here (the fan from Sprue #2, and the large pipe fitting from Sprue #1).
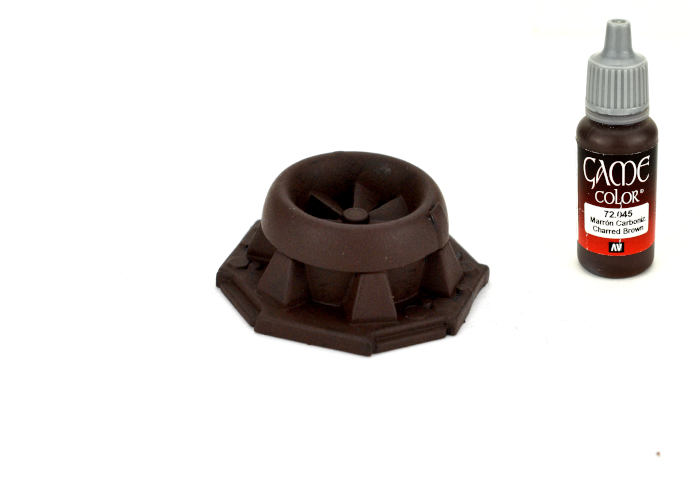
Start with an undercoat of a mid to dark brown.
Note: The actual colour isn't too important - and that goes for the rest of this tutorial as well - as rust comes in a wide range of shades and textures depending on the surface and the level of corrosion. I have shown the specific colours I used for this tutorial in the images, but you should feel free to experiment with different shades to get an effect that you like!
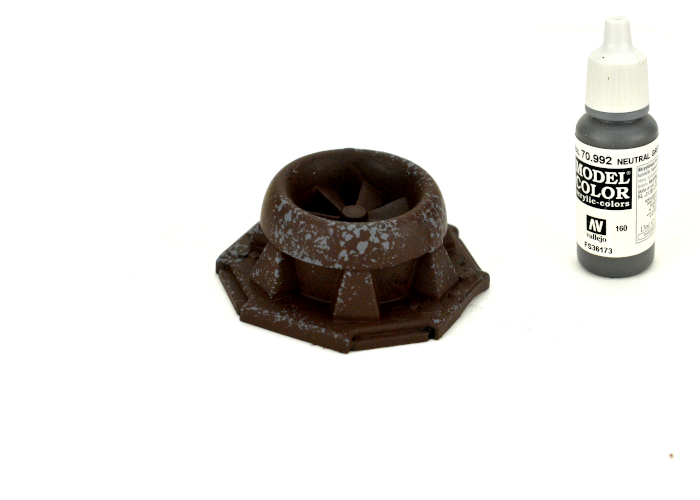
Using a sponge, dab on some patches of mid to dark grey. This is an optional step, to keep some areas where the original metal is still showing through. If you are looking for a more solid level of corrosion, skip this step.
Drybrush with orange. As above, use whatever actual shade you choose, the goal is just to add some contrast on the brown. You can build up some different patches of corrossion if you want by using a couple of different oranges or reds here, but avoid using anything too bright.
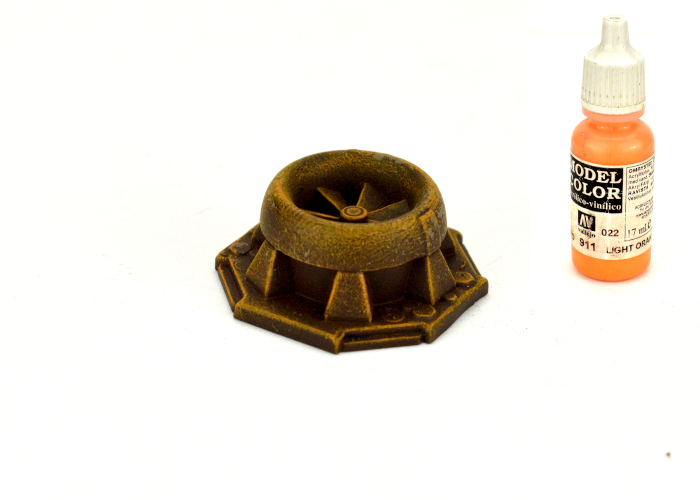
Finally, use an old brush to dab on some rust effect paint. I use Army Painter Dry Rust, but there are variations on this same style of paint in quite a few different paint ranges. This is a very matte orange paint that is also quite thin, so once you dab it around it dries with a lighter tint over the areas where less of it is applied, while building up a more solid rust look where the paint is heavier. Don't try to smooth it out - just blob it on there. If you're bothered by the technical aspect of metal weathering, try to apply the rust paint more heavily on those areas where it would naturally be more exposed and so corrode more - Looking at pictures of rusted metal objects can help here - otherwise, just dab it on there wherever it looks right to you. Gaming models don't have to be strictly real-world accurate unless you want them to be!
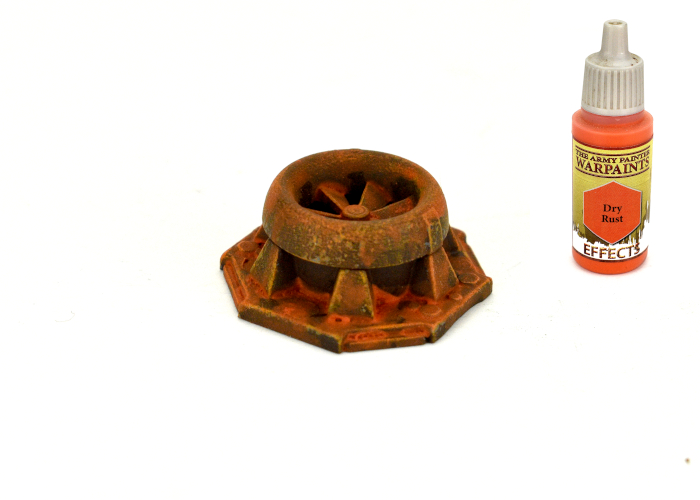
And that's it. Once the rust paint has dried, it's good to go. You can use this technique wherever you want some rusted surfaces, varying the colours and application to suit whatever you are painting at the time!
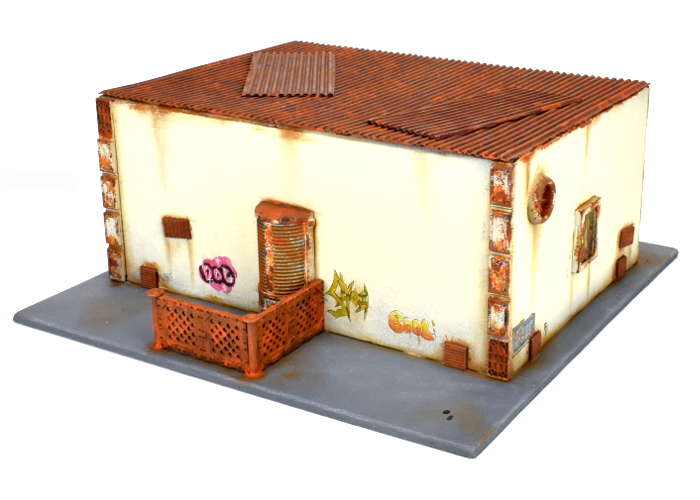
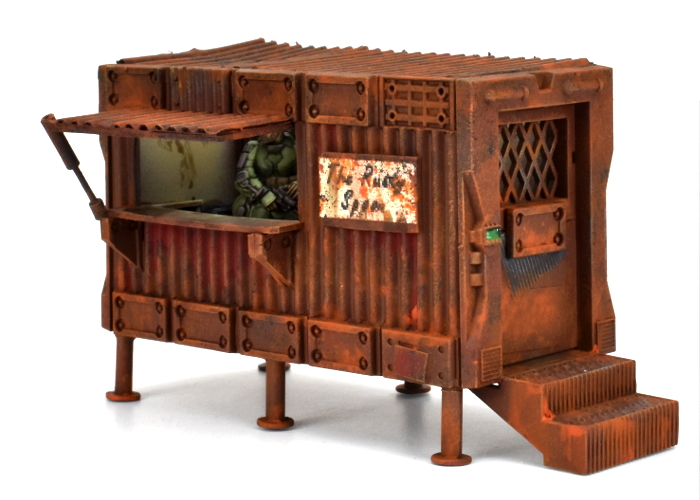
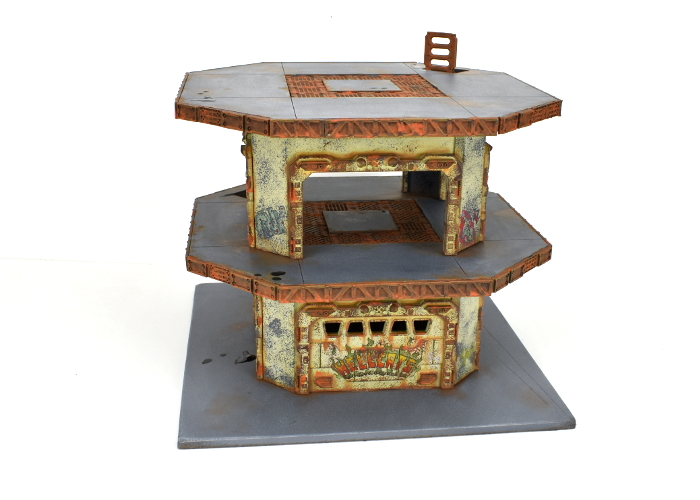
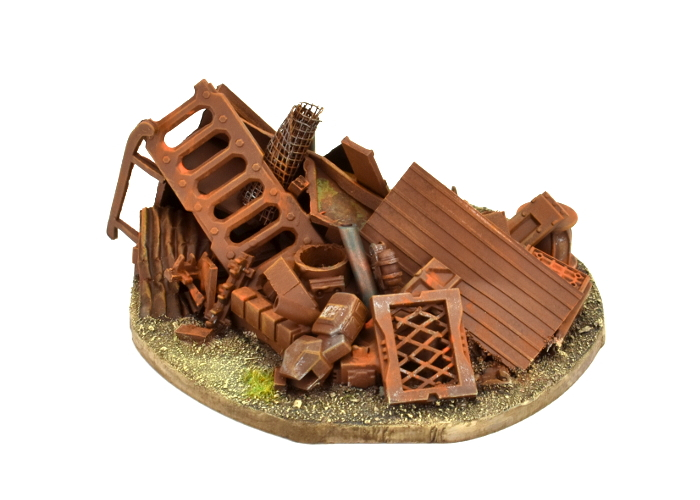
To get started on your own city of corroded doom, pick up the Maelstrom's Edge terrain sprues along with the rest of the range from the webstore here.
What are you working on? We would love to see your models and terrain in the Comm Guild Facebook group!
Remember to also grab a copy of the Maelstrom's Edge V2 Beta rules so you can get into the action!

I'm using a fan assembly from the Maelstrom's Edge terrain sprues here (the fan from Sprue #2, and the large pipe fitting from Sprue #1).
Start with an undercoat of a mid to dark brown.
Note: The actual colour isn't too important - and that goes for the rest of this tutorial as well - as rust comes in a wide range of shades and textures depending on the surface and the level of corrosion. I have shown the specific colours I used for this tutorial in the images, but you should feel free to experiment with different shades to get an effect that you like!

Using a sponge, dab on some patches of mid to dark grey. This is an optional step, to keep some areas where the original metal is still showing through. If you are looking for a more solid level of corrosion, skip this step.

Drybrush with orange. As above, use whatever actual shade you choose, the goal is just to add some contrast on the brown. You can build up some different patches of corrossion if you want by using a couple of different oranges or reds here, but avoid using anything too bright.

Finally, use an old brush to dab on some rust effect paint. I use Army Painter Dry Rust, but there are variations on this same style of paint in quite a few different paint ranges. This is a very matte orange paint that is also quite thin, so once you dab it around it dries with a lighter tint over the areas where less of it is applied, while building up a more solid rust look where the paint is heavier. Don't try to smooth it out - just blob it on there. If you're bothered by the technical aspect of metal weathering, try to apply the rust paint more heavily on those areas where it would naturally be more exposed and so corrode more - Looking at pictures of rusted metal objects can help here - otherwise, just dab it on there wherever it looks right to you. Gaming models don't have to be strictly real-world accurate unless you want them to be!

And that's it. Once the rust paint has dried, it's good to go. You can use this technique wherever you want some rusted surfaces, varying the colours and application to suit whatever you are painting at the time!


To get started on your own city of corroded doom, pick up the Maelstrom's Edge terrain sprues along with the rest of the range from the webstore here.
What are you working on? We would love to see your models and terrain in the Comm Guild Facebook group!
Remember to also grab a copy of the Maelstrom's Edge V2 Beta rules so you can get into the action!
Tags: painting rust tutorial walkthrough